


Installation guide for wallpaper application
-
By admin3
- Posted on
- Category 7
Wallpaper guide:
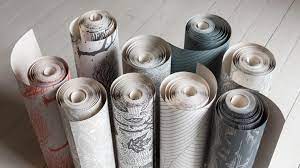
Your wallpaper will usually come in rolls and well packed into a cylindrical tube. One wall may require multiple rolls due to printer size limitations. These rolls are usually 70-110cm wide and comes in lengths from 240mm upto 320cm. Every manufacturer chooses a size that works for their type of designs and printing methods. The different rolls of wallpaper usually have overlap markers to indicate where these rolls must be joined to make up the complete wall / ceiling installation. Once taken out of the roll, the wallpaper is spread out on the adjacent floor to determine the cuts and overlaps required.
There are many types of wallpaper available in the market. The material and thickness plays an important role during installation.
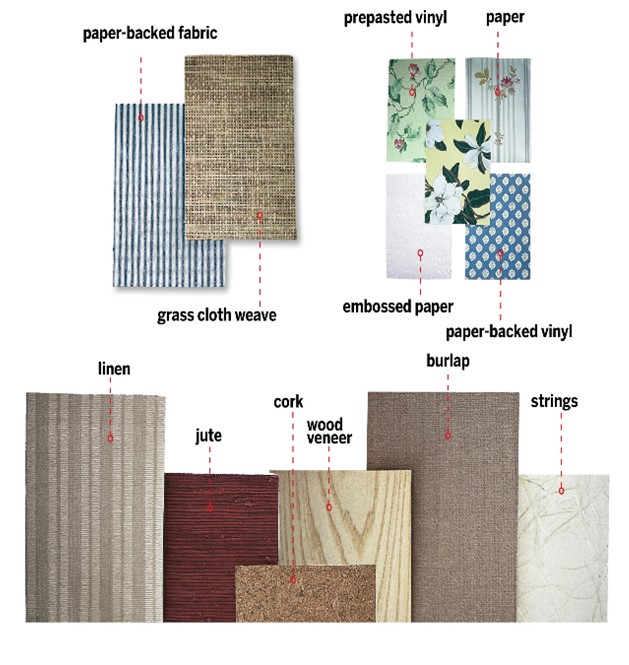
Paper backed vinyls are easier to install than delicate silks or tear-prone papers.
Wall Preparation:
Ensure the wall is well-prepared with a putty finish. The surface shall be clean, dry, and smooth. Remove any old wallpaper, loose paint, or debris and fill any cracks or holes with joint compound. Sand the surface to create a smooth and even base.
Apply an oil primer mixed with enamel paint for better adhesion (1 litre Primer mixed with 300 ml enamel paint) for wallpaper installation. This ensures that wallpaper sticks properly and doesn’t peel off.
The wall should be free of seepage or deformities.
Improper condition of walls can lead to wallpaper peeling off or create visual misalignment of the wallpaper.
Room Preparation:
The room should be clean and free from dirt.
Construction dust on the walls can cause peeling.
The floor shall be clean to aid cutting of wall paper to wall sizes and application of adhesive.
Ensure no other work is happening in the room during installation.
Clear the wall of any furniture.
Take note of switches, sockets or other wall elements like doors, windows, trims etc that will remain even after the wallpaper is installed. The wallpaper must be cut around it to the correct size before the adhesive is applied.
A clean and clear site ensures a smoother installation process.
Installation Tools:
Its important that the installation crew works with the right tools to get the installation perfect and to finish the task quickly.
The following tools are recommended:
- Measuring tape to measure the wall dimensions and mark overlaps

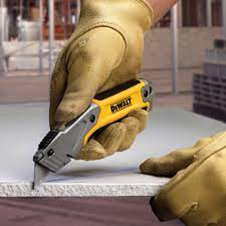
- Sharp scissors or cutting blade to cut wallpaper.
- Ladder or scaffolding to reach the highest point of the room that requires wallpaper installation. Ceiling applications will require scaffolding.
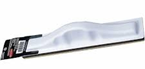
- Smoothing Tool – to remove air bubbles and wrinkles once the paper is softly stuck. Start from the centre of the paper and work your way out to the edges.
- Seam roller- to smoothen the edges where the seams are joined together and make them disappear.

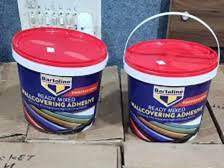
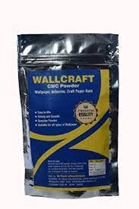
- Wallpaper adhesive: specific adhesive for wallpaper application like CMC powder all-purpose adhesive, Fevicol SR998 etc as available in the local market.
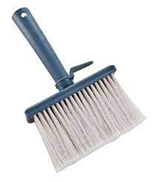
- Paint brush- broad pasting brush to place the adhesive on the walls.
Installation Procedure:
- Start from the centre top of the wall and work your way downward and sideward OR follow the finish installation diagram from the Architect for the start sequence.
- For wallpaper with a dominant element centre it on the “focal wall”— the wall people first notice. Measure the width and height of this wall and mark its midpoint.
- Cut the extra white paper beyond the print.
- Roll out the first roll face-down on the floor or worktable and use a paint brush to apply a generous, even coat of paste all the way to the paper’s edges. Apply a thin layer of the adhesive to the cleaned wall substrate evenly to thickness recommended by the manufacturer.Let stand for 3 to 5 minutes before hanging.
- Place the wallpaper softly at the top edge or centre and start working towards the edges. Once lightly stuck, use the smoothing tool all over. Seal around the edges of switches, openings etc
- Place the adjacent sheet where the overlap is indicated, or pattern matching is done. Make sure the paper’s edges are exactly aligned so that no pasted surface is exposed. Use a seam roller to work the joints.
- Excess paper at the skirting or edges to be cut carefully with the scissors or knife edge. Smooth over lightly with a damp sponge and using a smoothing tool to eliminate wrinkles and fix the paper firmly. Continue with the next roll.
- Trim the edges or around cutouts for service outlets using a sharp knife. Smoothen them to seal the edges.
- Wipe with a damp cloth or sponge after a day, once the paper has fully stuck.
- Advice to DIY enthusiasts: begin with small, easy-to-match patterns. Work patiently and steadily to get tight seams and no air bubbles, wrinkles or folds.